How to Install WordPress using MOJO Marketplace
MOJO Marketplace provides a simple WordPress installer tool. Several hosting companies use this to provide a 1-click WordPress install experience. This installer is integrated into their cPanel dashboard.
For this tutorial, we will be showing you the BlueHost cPanel. Simply login to your hosting account and then on your cPanel dashboard scroll down to the website section.

Click on Install WordPress icon or 1-click Install. They will both take you to the MOJO Marketplace where you will see an overview about WordPress with a Install button. You need to click on the install button to continue.

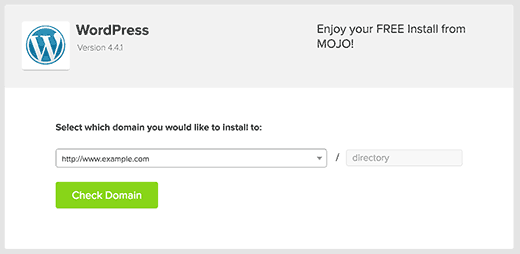
MOJO Marketplace will now ask you where you want to install WordPress. Simply select your domain name from the dropdown menu and click on the check domain button.

The installer will now check that everything is in order and will show the final step. You can check the box next to Show Advanced Options to expand it.

You will notice that MOJO Marketplace has already given your site a title ‘My Site’. It will be using your email address as the username and entered a random strong password. You can change all these settings. You also need to check the terms and conditions checkbox.
Once you are done, you can click on the Install Now button.
Your installation will begin, and you will be able to see a progress bar. It will take only a few minutes. You need to wait on this page for it to finish.

Once the installation is finished, you will see a success message with a view credentials button.

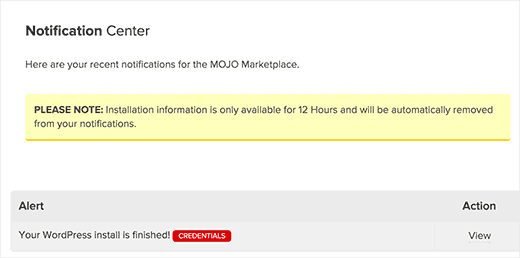
You have successfully installed WordPress. Click on the View Credentials button to go to MOJO Marketplace dashboard and scroll down to the notification center.
There you will see the status of your WordPress install with a link to view credentials.

This will display the installation status and success notice. You will also find links to your site and WordPress admin area along with the username and password you will need to login.


